

General Settings
To access the general settings, go to the WordPress admin dashboard, click on the AffiliatePress menu in the sidebar, and then navigate to the Settings page.

The “General” tab allows you to configure general settings. Be sure to click the “Save” button on the page after making any changes.
Allow Affiliate Registration
Enable this setting to allow users to register as affiliates on your site.

Auto Approve & Activate New User Registration
Enable this setting to allow users to register with an active affiliate status and be auto-approved. If this setting is disabled, affiliate users will need to be manually approved by the admin.

Tracking Cookie Days
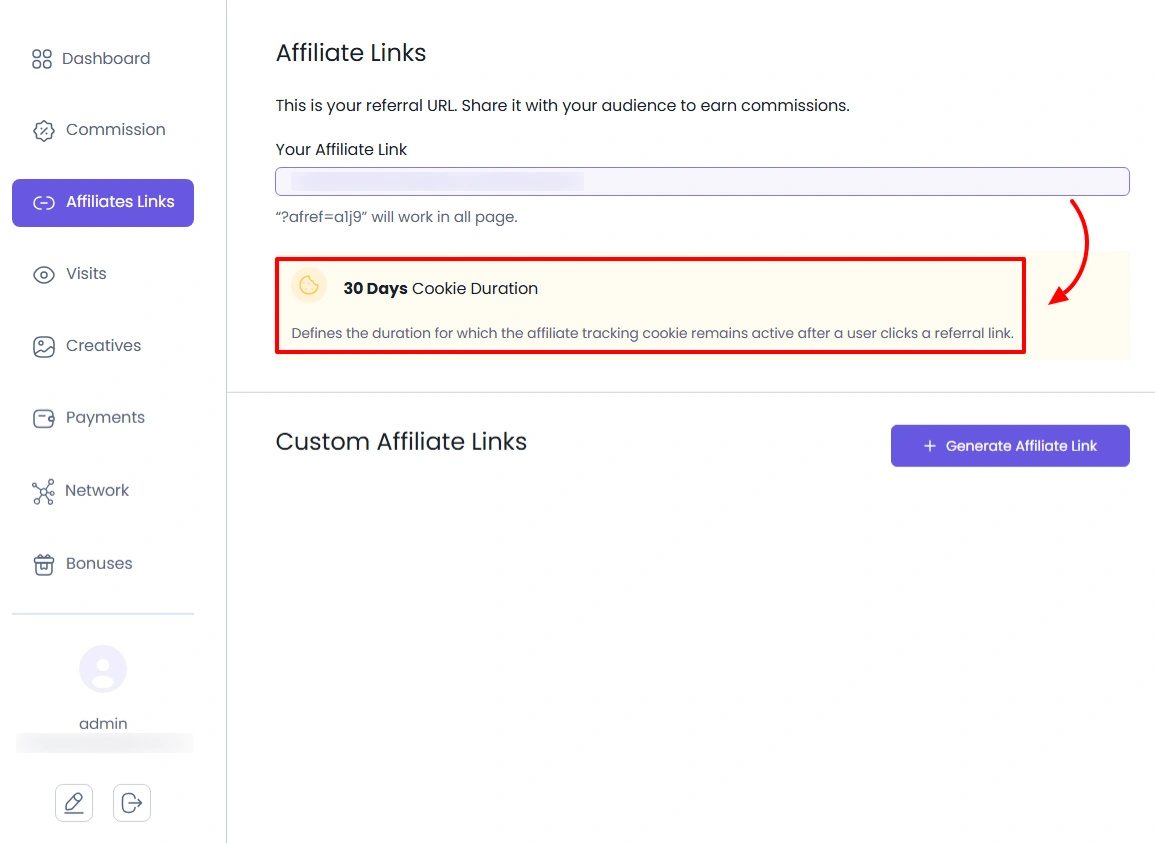
It refers to the duration for which an affiliate’s tracking cookie remains active on a user’s browser. When a user clicks on an affiliate link, a tracking cookie is placed on their browser. The “Tracking Cookie Days” setting determines how long this cookie will stay active.
Note: The maximum tracking cookie days can be set to 180 days.
This cookie duration is also displayed on the affiliate panel so that the affiliate users can check how many days the tracking cookie is set for.
Affiliate URL Parameter
The Affiliate URL Parameter is a query variable that identifies affiliate referral links (e.g., yourwebsite.com/?ref=afcd5s). You can modify this variable, but please make sure it does not conflict with WordPress reserved terms.

Default Affiliate URL Format
This option allows you to set the default format of the affiliate URL. Here you get 4 different types of options to choose from, and they are
- Affiliate ID (Encoded ID)
- Affiliate ID (Plain ID)
- WordPress Username
- MD5 Hashed Affiliate ID

Default Affiliate URL
This option allows you to set the desired affiliate URL. So if you want to URL with any specific page, then add the link accordingly, and AffiliatePress will add the affiliate parameter behind the link added.

Enable Fancy Affiliate URL
Enable this setting to create clean, professional URLs for affiliate links (e.g., yourwebsite.com/ref/afcd5s). If you encounter a 404 error, go to WordPress » Settings » Permalinks to refresh the links.

Allowed Affiliate User to Close Their Account
Enable this setting to allow affiliate users the option to submit a close account request from the affiliate panel.

Maximum Custom Affiliate Links
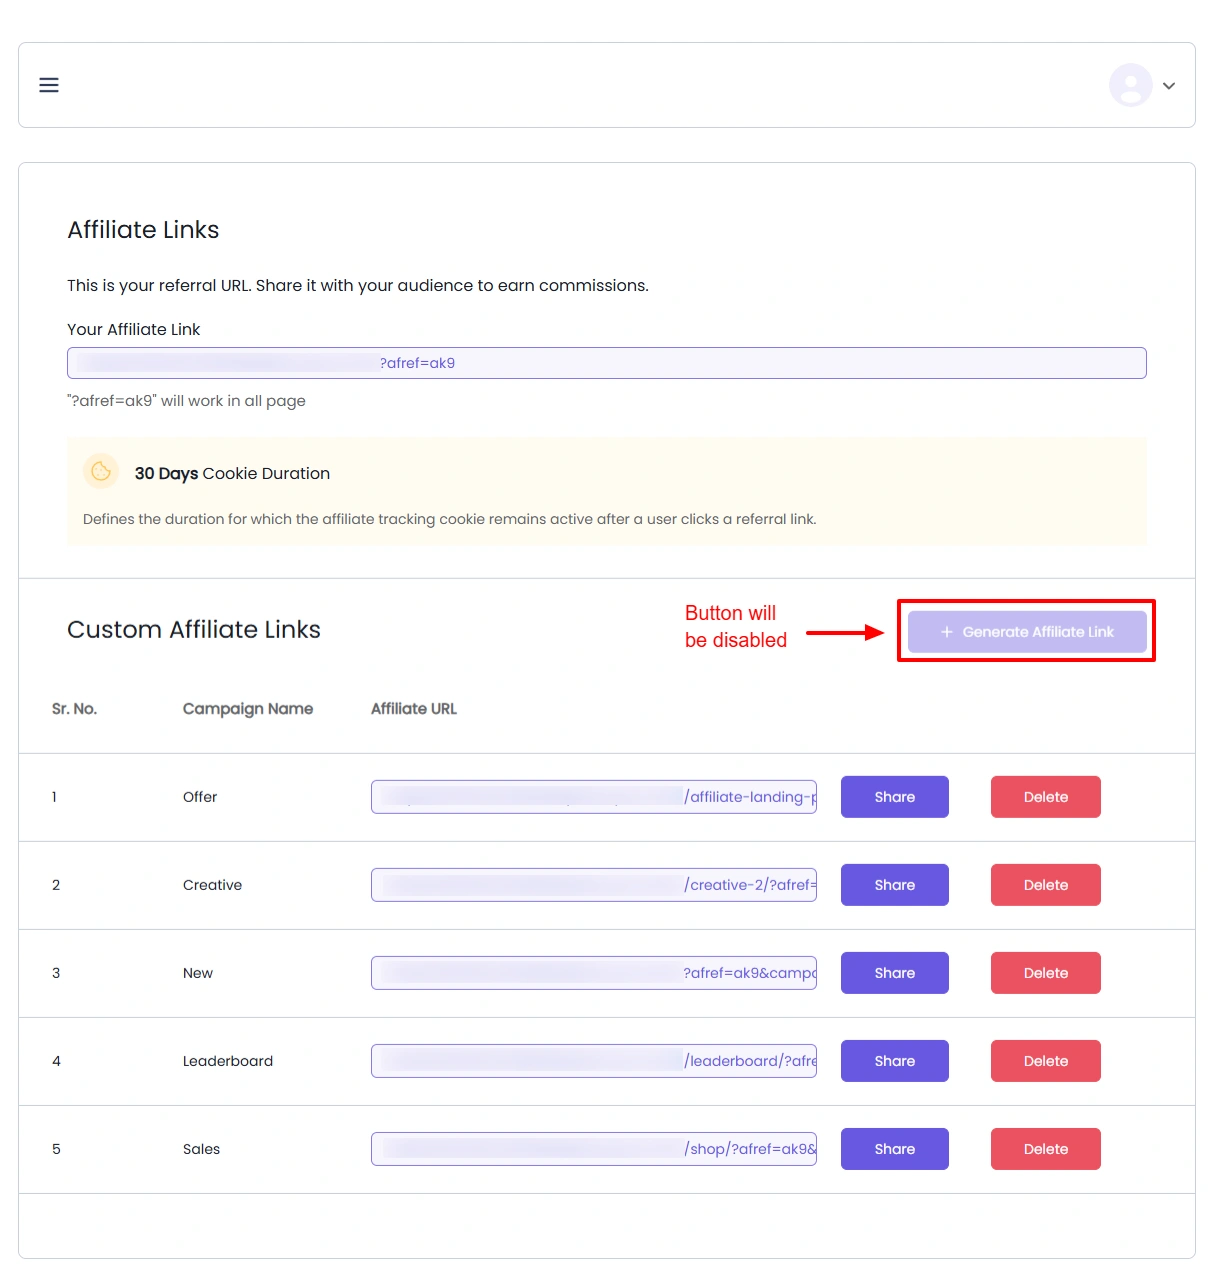
The Maximum Custom Affiliate Links feature in AffiliatePress allows you to set a predefined limit on the number of custom affiliate links that can be created on your website. This helps optimize site performance, improve link management, and maintain a clean, scalable affiliate system.

For example, if you set the maximum custom link limit to ‘5,’ then from the front end at the affiliate panel, the affiliate users will be able to add up to 5 custom links, and then the button to generate links will be disabled.
Auto Affiliate Create on registration as user from any registration form
If this switch is enabled, then it allows users from any other form to become affiliates of your site; if you do not need it, then you can keep this option off.

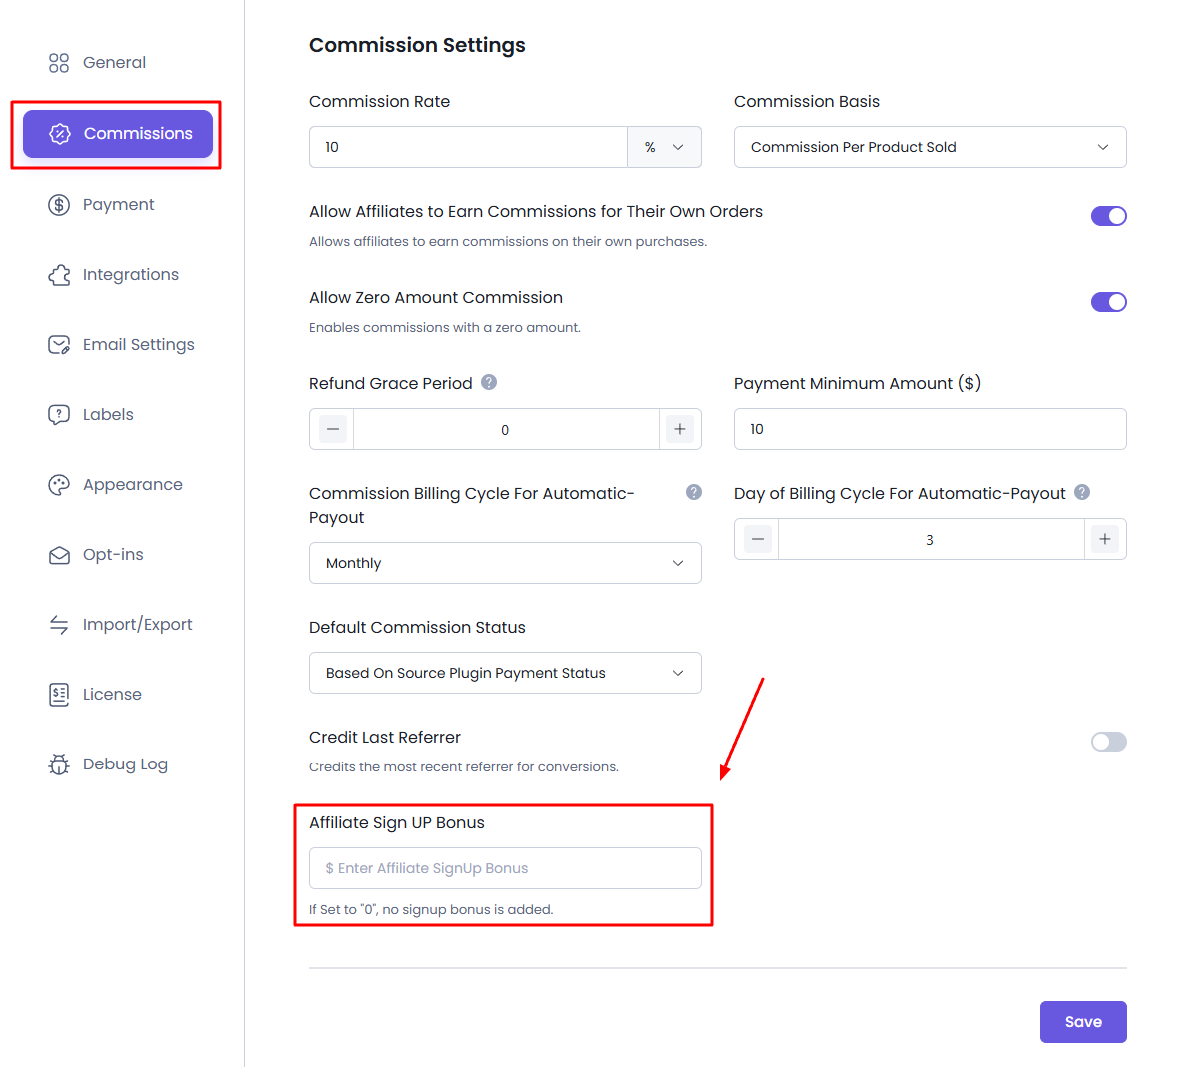
Signup Bonus
The Affiliate Signup Bonus Add-on helps encourage new affiliate registrations by rewarding affiliates with a signup bonus after successful account registration. This add-on allows you to configure bonus amounts, eligibility rules, and payout conditions, giving you full control over how and when signup rewards are granted.
Currency Settings
Currency
Select your currency.
Currency Symbol Position
This setting allows you to set the position of the currency symbol. There are two options available: that is Before value – $100 and After value – 100$ choose as per your requirements.
Number of Decimals
This setting determines the number of decimal places to display for commission amounts. For example, setting it to “2” will display commission amounts with two decimal places (e.g., $10.50).
Currency Separator
This setting defines the character used to separate thousands in the currency amount

Page Settings
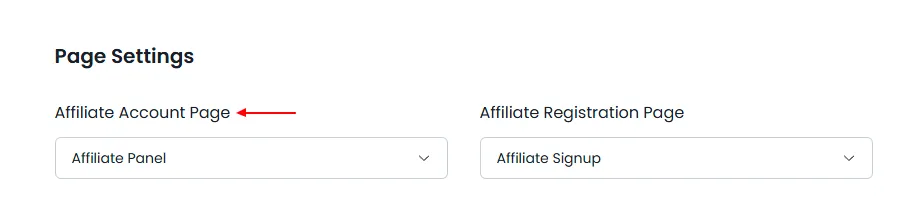
Affiliate Account Page
Select the page where affiliates will manage their accounts. By default, this is set to the Affiliate Panel page. If you choose a different page, make sure to add the shortcode displayed on that page. Also, AffiliatePress allows you to check the preview of the page, so you can click on “Preview,” and you will be able to check the page selected.
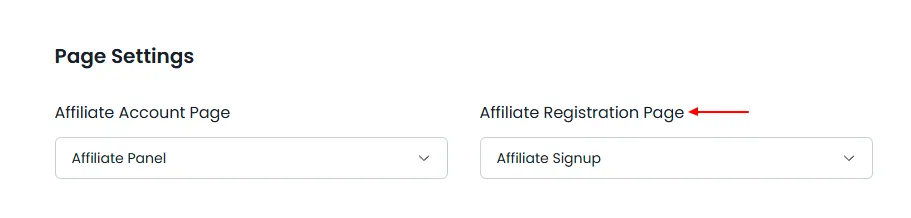
Affiliate Registration Page
Select the page where the affiliate’s user will register. By default, this is set to the Affiliate Signup Page. If you choose a different page, make sure to add the shortcode displayed on that page. Also, AffiliatePress allows you to check the preview of the page, so you can click on “Preview,” and you will be able to check the page selected.
Affiliates QR Codes
The AffiliatePress QR Code Add-on allows affiliates to instantly generate a QR code for their unique referral link. This makes it easy to promote affiliate links through offline channels such as events, flyers, business cards, posters, and other printed materials, as well as mobile-focused marketing campaigns. Know more about how to configure the QR Codes add-on.

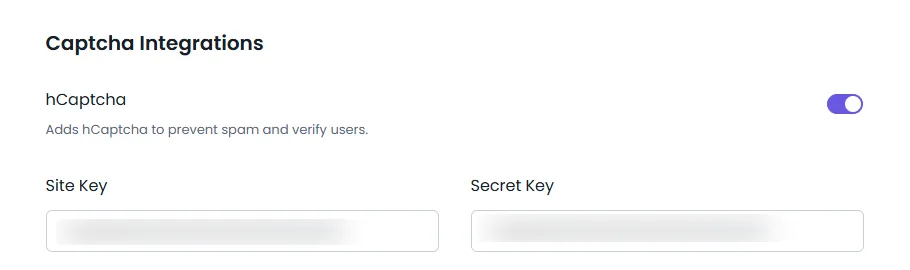
Captcha Integrations
hCaptcha
Enable this setting to prevent spambots from registering and logging into affiliate accounts.
hCaptcha Integration
- Go to hCaptcha and sign up for an account, or log in if you already have one.
- After logging in, you will be directed to the “Sites” page.
- Click the “Add a new site” button.
- Enter your site’s domain name (e.g., yourwebsite.com) and select the desired settings for your site.
- Click the “Save” button to create your site key.
- In your hCaptcha dashboard, navigate to Sites and click on the site you wish to integrate. Copy the site key and paste it into the Site Key field in your AffiliatePress settings.
- Go to the settings page of your hCaptcha dashboard, where you will find your account’s secret key. You may need to generate a new secret key, or you can use the existing one if you already have it. If you generate a new key, you will need to update it wherever hCaptcha is integrated. Once you have the secret key, paste it into the Secret Key field in your AffiliatePress settings.
After completing these steps, hCaptcha will be successfully integrated into your site.
Google reCAPTCHA v3
Enable this setting to prevent spambots from registering & logging in to affiliate accounts using Google reCAPTCHA.
- Go to the Google reCAPTCHA website and sign in with your Google account.
- Click on Admin Console at the top right.
- If you don’t have an existing reCAPTCHA site, click on + to add a new one.
- Once the site is registered, you will be provided with a Site Key and a Secret Key. Copy both keys.
- Paste the Site Key into the Site Key AffiliatePress Setting field.
- Paste the Secret Key into the Secret Key AffiliatePress Setting field.

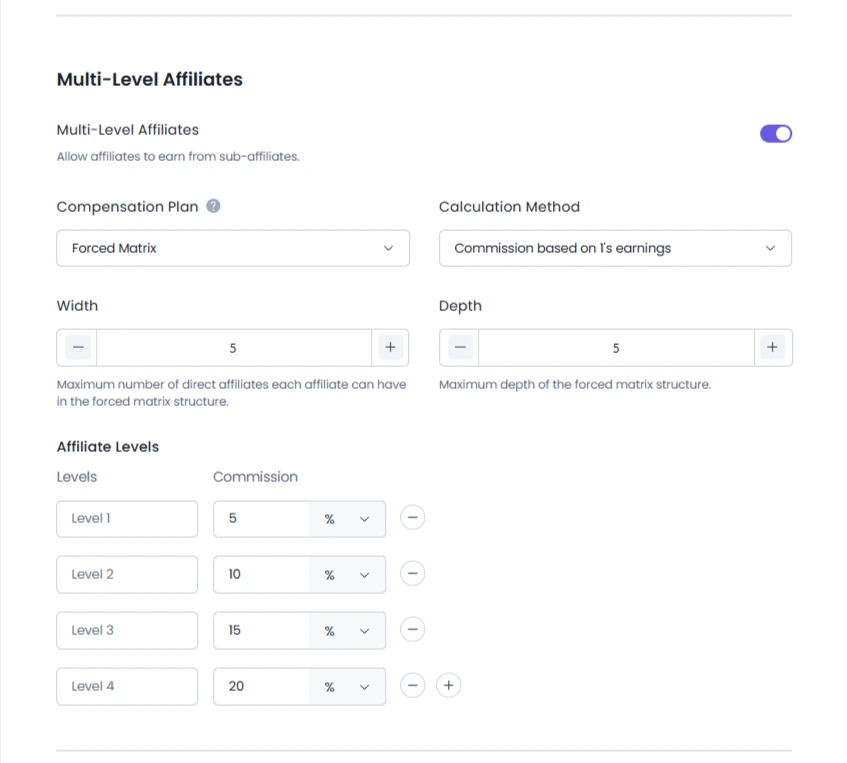
Multi-Level Affiliates
The AffiliatePress Multi-Level Affiliates Addon lets you create a powerful affiliate network where affiliates can earn commissions from both their own referrals and the sales generated by affiliates they recruit. This multi-level commission structure encourages affiliates to grow their downline, expand the network, and increase their earning potential.
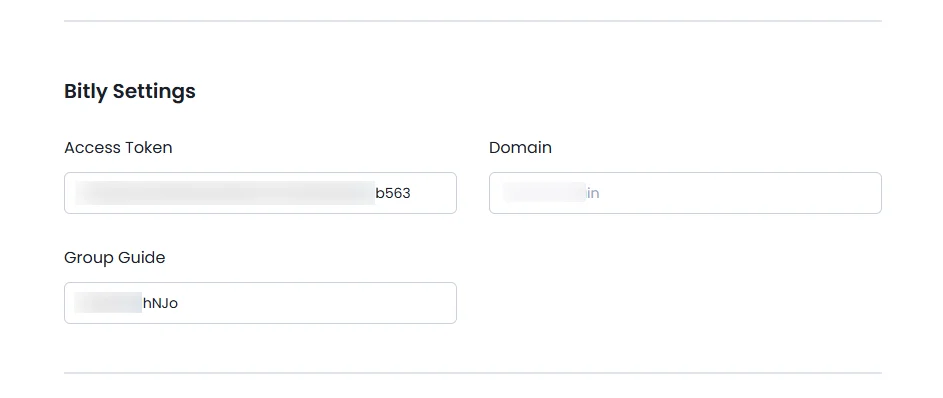
Bitly Settings
The Bitly integration automatically transforms long affiliate URLs into clean, shortened Bitly links. These shortened links are easier to share, more visually appealing, and help improve click tracking and campaign performance.
Setup Wizard
With this feature, you can run the setup wizard again.

Data Cleanup & Reset
Using this feature, you can delete the visited data as per your liking, such as one month, one week, or one year. You can also delete the visited data within a custom date range if you wish.
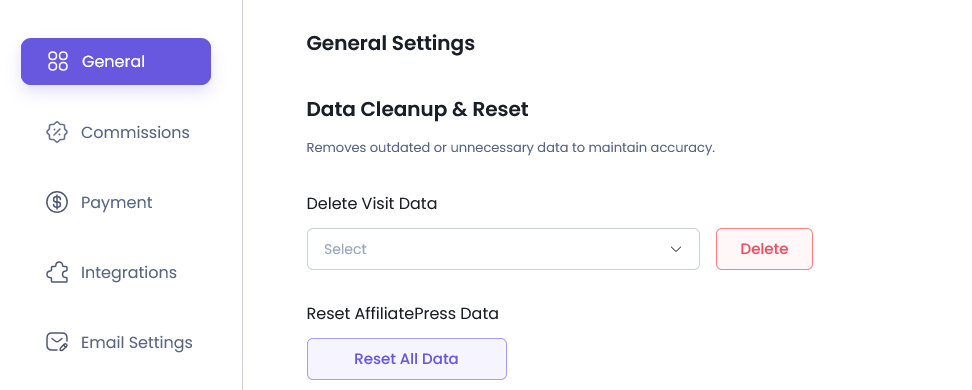
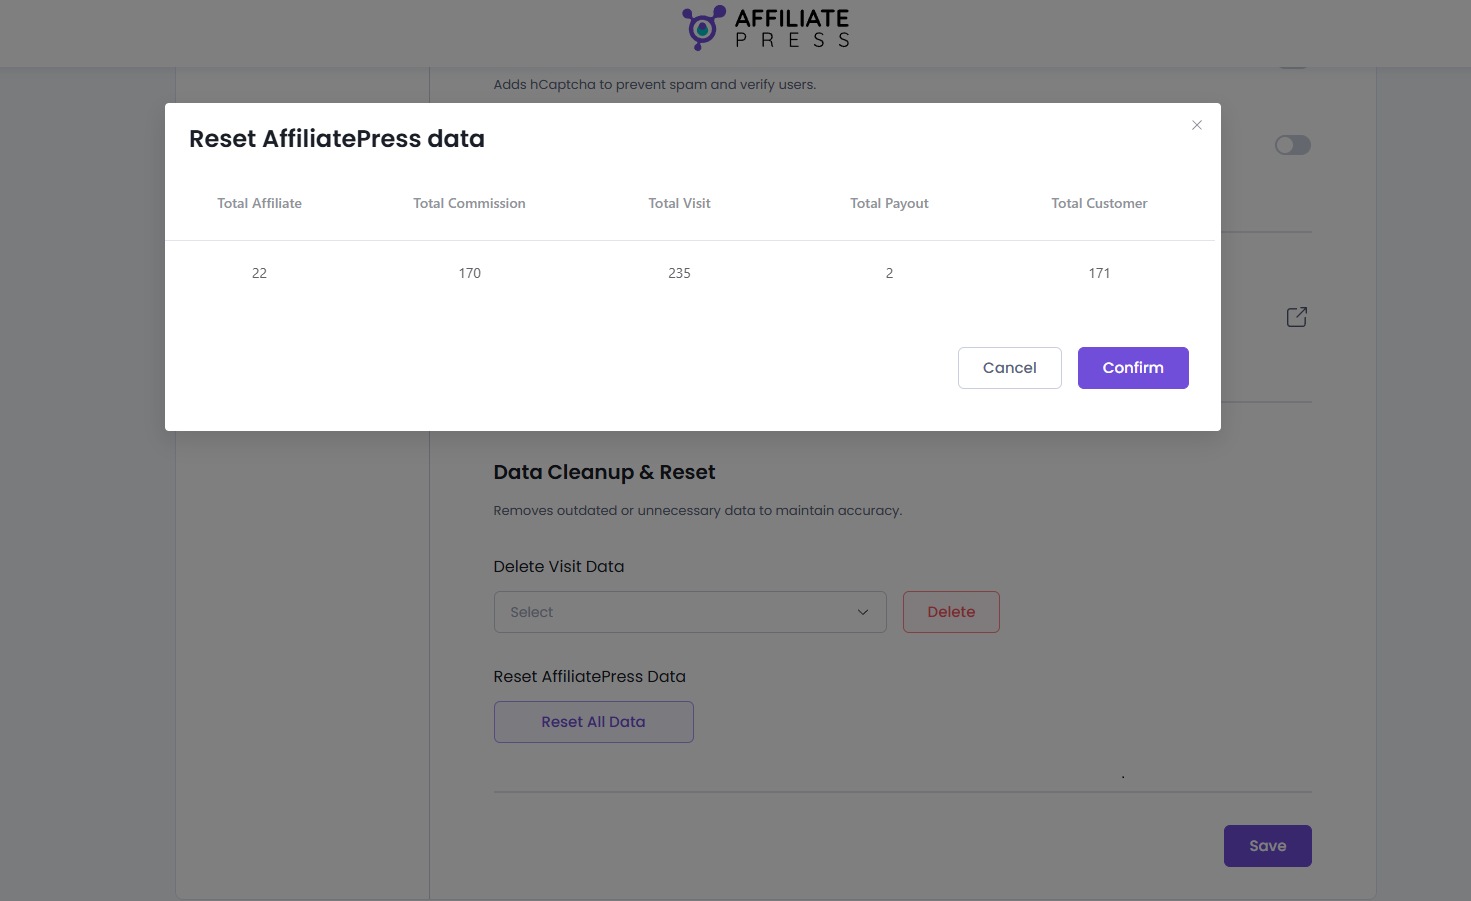
Reset AffiliatePress Data
This button will allow you to delete the entire data for AffiliatePress; however, all the basic configurations will not be removed. When this button is clicked at that time, a popup will show up indicating the amount of data as shown below.