

Import / Export Settings
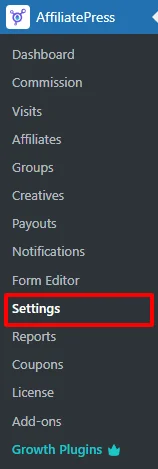
To access the settings, go to WordPress Admin, click on the AffiliatePress menu in the sidebar, and then navigate to the Settings page.
The Import/Export Settings feature in AffiliatePress helps streamline data migration, backups, and large-scale affiliate management. With it, you can export and import affiliate records, commissions, payouts, and plugin configurations quickly and efficiently.
Accessing Import / Export Settings
To manage import/export actions:
- Navigate to
AffiliatePress > Settings > Import/Export Tab.
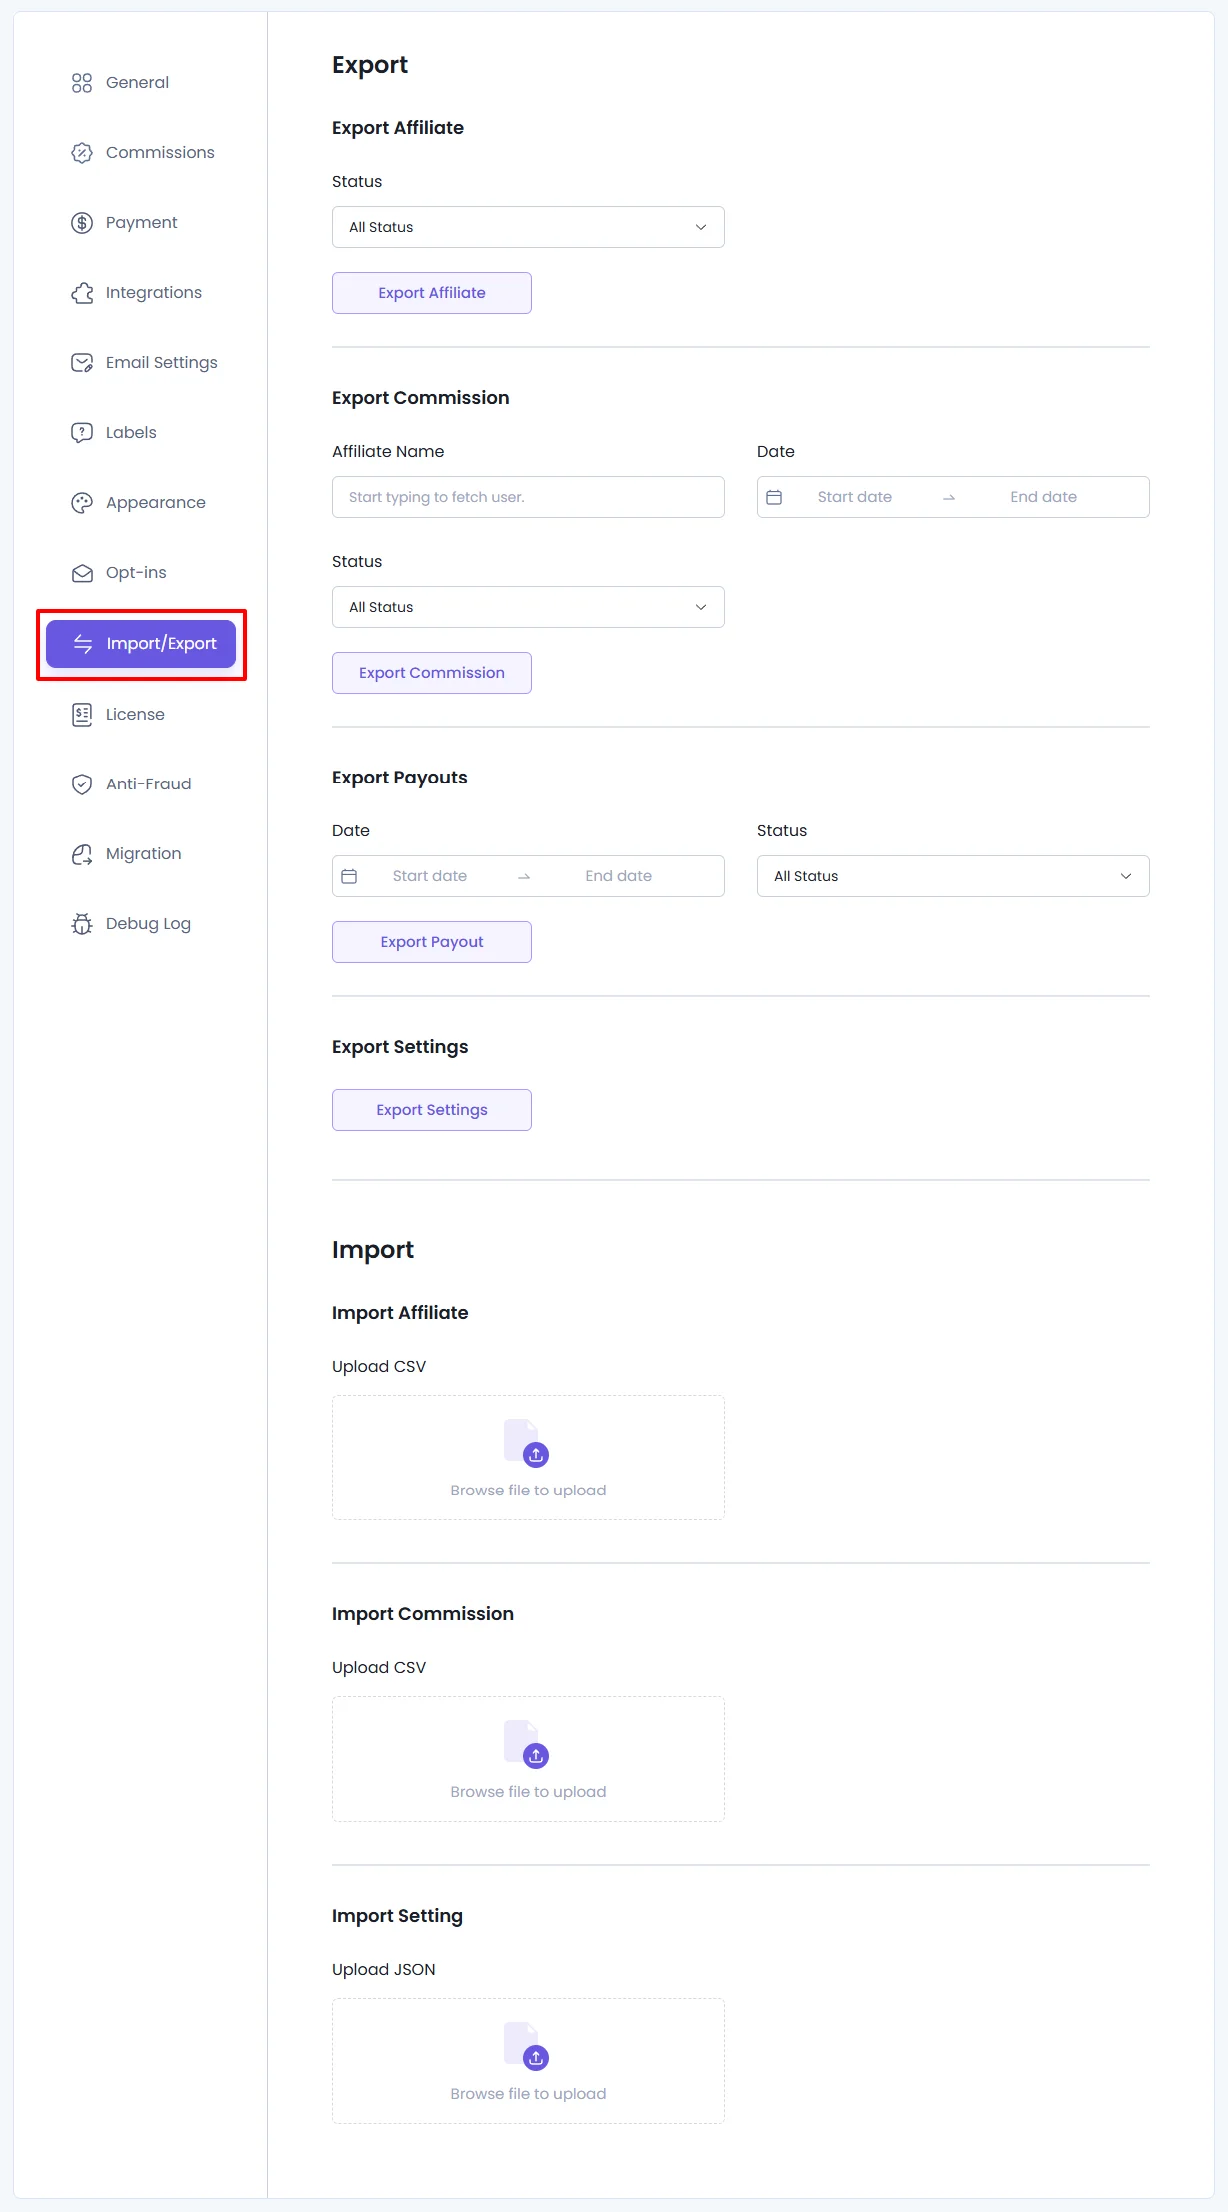
Sections Overview
The Import/Export tab includes the following:
- Export Affiliate – Export affiliate user data based on status filters.
- Export Commission – Export commission transactions filtered by date, affiliate, and status.
- Export Payouts – Export payout history using date and status filters.
- Export Settings – Export current plugin settings as a
.jsonfile. - Import Affiliate – Import affiliate data via a mapped CSV upload.
- Import Commission—Import commission records from a structured CSV file.
- Import Setting – Restore plugin settings using a
.jsonconfiguration file.
1. Export Affiliate
This feature lets you export the list of affiliate users from your system in CSV format. It’s especially useful for recordkeeping or transferring user data to another environment.
You can filter the export based on the affiliate’s status:
- All Status: Includes every affiliate regardless of their current status (Approved, Pending, Rejected).
- Approved: Only includes affiliates who have been approved and are active.
- Pending: Includes users who have applied but are still awaiting approval.
- Rejected: Exports affiliates who were denied access to the program.
Once the filter is applied, clicking the Export button will generate and download the corresponding CSV file.

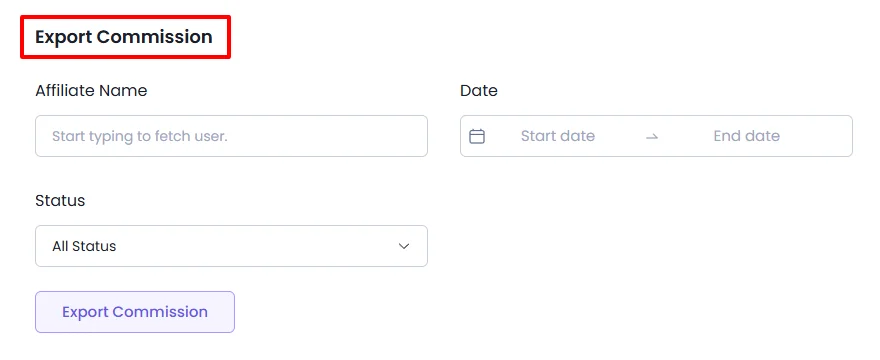
2. Export Commission
This option enables you to export commission records, which is vital for financial reporting, analysis, or backup.
Before exporting, you can apply the following filters:
- Affiliate Name: Select a specific affiliate for whom you wish to export commissions. This is a searchable dropdown for convenience.
- Date Range: Choose a time window by specifying the From and To dates. Only the records created during this period will be included.
- Commission Status: Refine the data further by selecting one of the following:
- All Status – Export all commission status.
- Approved – Export only commissions that have been approved.
- Pending—Export commissions that are awaiting approval or processing.
- Rejected—Export commissions that were rejected.
- Paid – Export commissions that were paid.
After applying your filters, click on the Export Commission button to download the file.
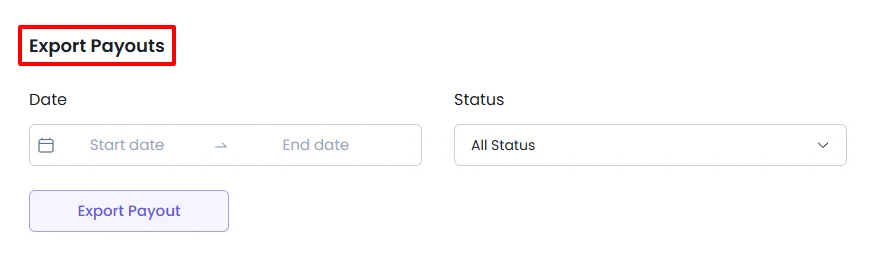
3. Export Payouts
The Export Payouts feature enables you to download payout transaction history into a CSV file for reporting, accounting, or audit purposes.
Date Range: Choose a “From” and “To” date to export only the payouts processed within the selected time frame.
Status Filter: Export payout records based on their status:
- All – Export all payout entries, regardless of their current status.
- Paid – Export only successfully completed payouts.
- Unpaid – Export payout entries that are yet to be processed.
- Failed – Export payouts that encountered errors during processing.
- Pending – Export payouts pending payout.
- Carry Forward—Payouts that were not processed during the current payout cycle and have been moved forward to the next cycle
4. Export Settings
This allows you to export the current configuration of the AffiliatePress plugin as a .json file. It’s especially useful when:
- You want to back up your settings before making changes.
- You’re migrating from one WordPress site to another and want to replicate the setup.
To export, simply click on the Export Settings button. A .json file will be downloaded automatically.

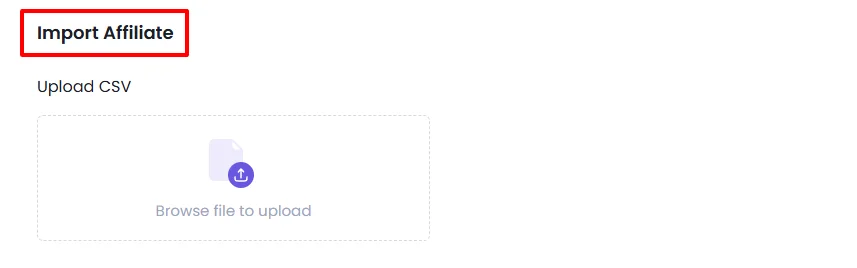
5. Import Affiliate
This feature allows you to add multiple affiliate users at once by uploading a CSV file. The uploaded file can either be a previous export from AffiliatePress or a custom CSV structured to match the required format.
Steps:
- Click the Upload button and select your CSV file.
- Once uploaded, the system will present a mapping screen where you match the CSV columns to system fields.
- If your CSV column names match the system field names, the mapping will be done automatically.
- Fields like User Email and Affiliate Status are mandatory.
- After mapping, click Import Affiliate to begin the import.
Affiliate Import – Mapping Fields
When importing affiliate records via CSV, you will need to map each column in your file to the corresponding system fields. Below is a breakdown of each available field and its purpose:
| Field | Description |
|---|---|
| First Name | The affiliate’s first name |
| Last Name | The affiliate’s last name |
| User Name | The username the affiliate will log in with |
| User Email | Unique identifier; must be a valid email (required) |
| Payment Email | Email used for payment gateways (e.g., PayPal) |
| Website | Affiliate’s personal or business site |
| Promotion Method | How they plan to promote your products |
| Affiliate Status | Initial status: Pending, Approved, or Rejected |
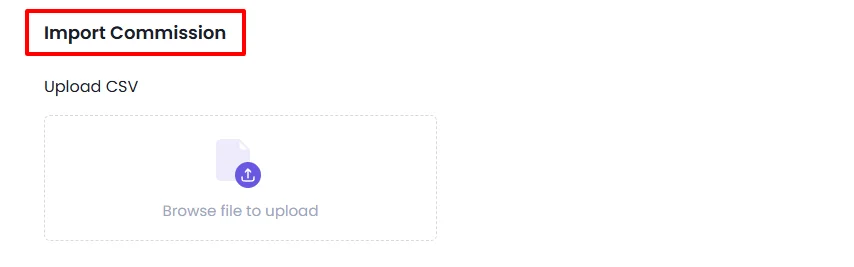
6. Import Commission
This section allows for bulk uploading of commission records via a CSV file. It’s useful when migrating data from another system or updating multiple commissions in one go.
Steps:
- Upload a CSV file containing the commission records.
- Map each CSV column to a system-recognized field.
- If your CSV column names match the system field names, the mapping will be done automatically.
- Required fields include:
- Affiliate User Email
- Commission Source
- Commission Amount
- Commission Reference ID
- After mapping, click Import Commission to upload and insert the data.
Commission Import – Mapping Fields
When importing commission records via CSV, you will need to map each column in your file to the corresponding system fields. Below is a breakdown of each available field and its purpose:
| Field | Description |
|---|---|
| Affiliate User Email | Email of the affiliate to whom the commission belongs. Must match existing users. |
| Commission Source | The origin or type of the commission (e.g., Product Sale, Form Submission). |
| Commission Amount | Total amount of the commission being recorded. |
| Commission Reference Amount | The original amount on which the commission was calculated (e.g., product price). |
| Commission Currency | Currency code (e.g., USD, EUR) for the commission amount. |
| Commission Status | Current status of the commission: approved, pending, or rejected. |
| Commission Type | Defines the nature of the commission (e.g., fixed, percentage). |
| Commission Reference ID | Optional reference ID (e.g., Order ID, Transaction ID) for tracking. |
| Description | Short note or explanation of the commission (e.g., sale info, campaign). |
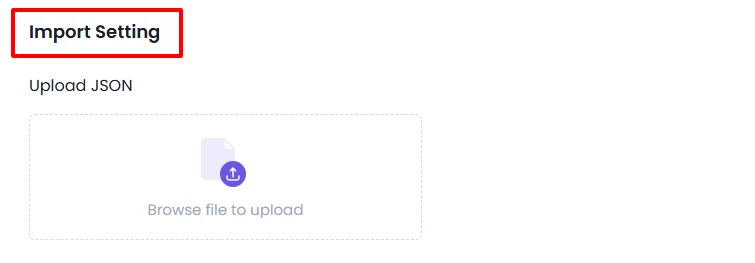
7. Import Settings
Use this feature to restore plugin settings from a .json file. Ideal for:
- Moving settings from a staging to a live site.
- Reverting to a known good configuration.
- Synchronizing settings across multiple installations.
Steps:
- Click the Upload button and select your
.jsonsettings file. - Once uploaded, the plugin will automatically replace the current settings with those from the file.
- No mapping is needed—the process is instant and automatic.